Following on from my recent blog for home-made play dough I decided to find my Mums' Salt Dough recipe and make some decorations for the Christmas tree. They make simple, effective baubles that you can keep year on year; just make sure you paint them well and store them in a dry place. This is a great activity to get the kids involved in and one they will remember for the rest of their lives.
You'll need a few simple things:

1 Cup Flour
1/2 Cup Salt
1/2 Cup Water
Acrylic Paints
Glitter
Ribbon/Wire
Mixing Bowl
Cookie cutters
Baking tray
Knitting needle or skewer

Salt dough really couldn't be easier, you simply put the salt and flour in a mixing bowl and gradually add the water while mixing with your hand.
When all the water is added you knead the dough for 10 minutes to mix it well and to make the dough more elastic.
Once this is done you can set up your work station to roll out the dough and cut out shapes using the cookie cutters. If you're making these with kids try putting their dough on a tray and sit them at the kitchen table where they will be able to sit comfortably; your kitchen counters may be a little too high for them to work from.
You may need a palette knife or fish slice to lift the delicate shapes.
Don't forget to use a knitting needle to poke a hole to hang the decorations by before they get too dry.
Once you've cut your decorations out, lay them on a baking tray to dry. You can either leave them in a warm dry place to dry hard which will take a couple of days or you can put them in the oven at a very low temperature for a few hours. If you notice they are going a little brown you should cover them with tin foil until they are dried thoroughly.
Now they are ready to decorate in any way you can think of! So get creative with paints, glitter, sequins or anything else you can stick onto your shapes. Don't forget to lay down newspaper first, especially if the kiddies are helping and be sure that you're around to supervise them.
Once they are dry you can thread your ribbon or wire through the hole and have fun finding places to hang them.
Have a very happy Christmas everyone!
Ruthie


 Salt dough really couldn't be easier, you simply put the salt and flour in a mixing bowl and gradually add the water while mixing with your hand.
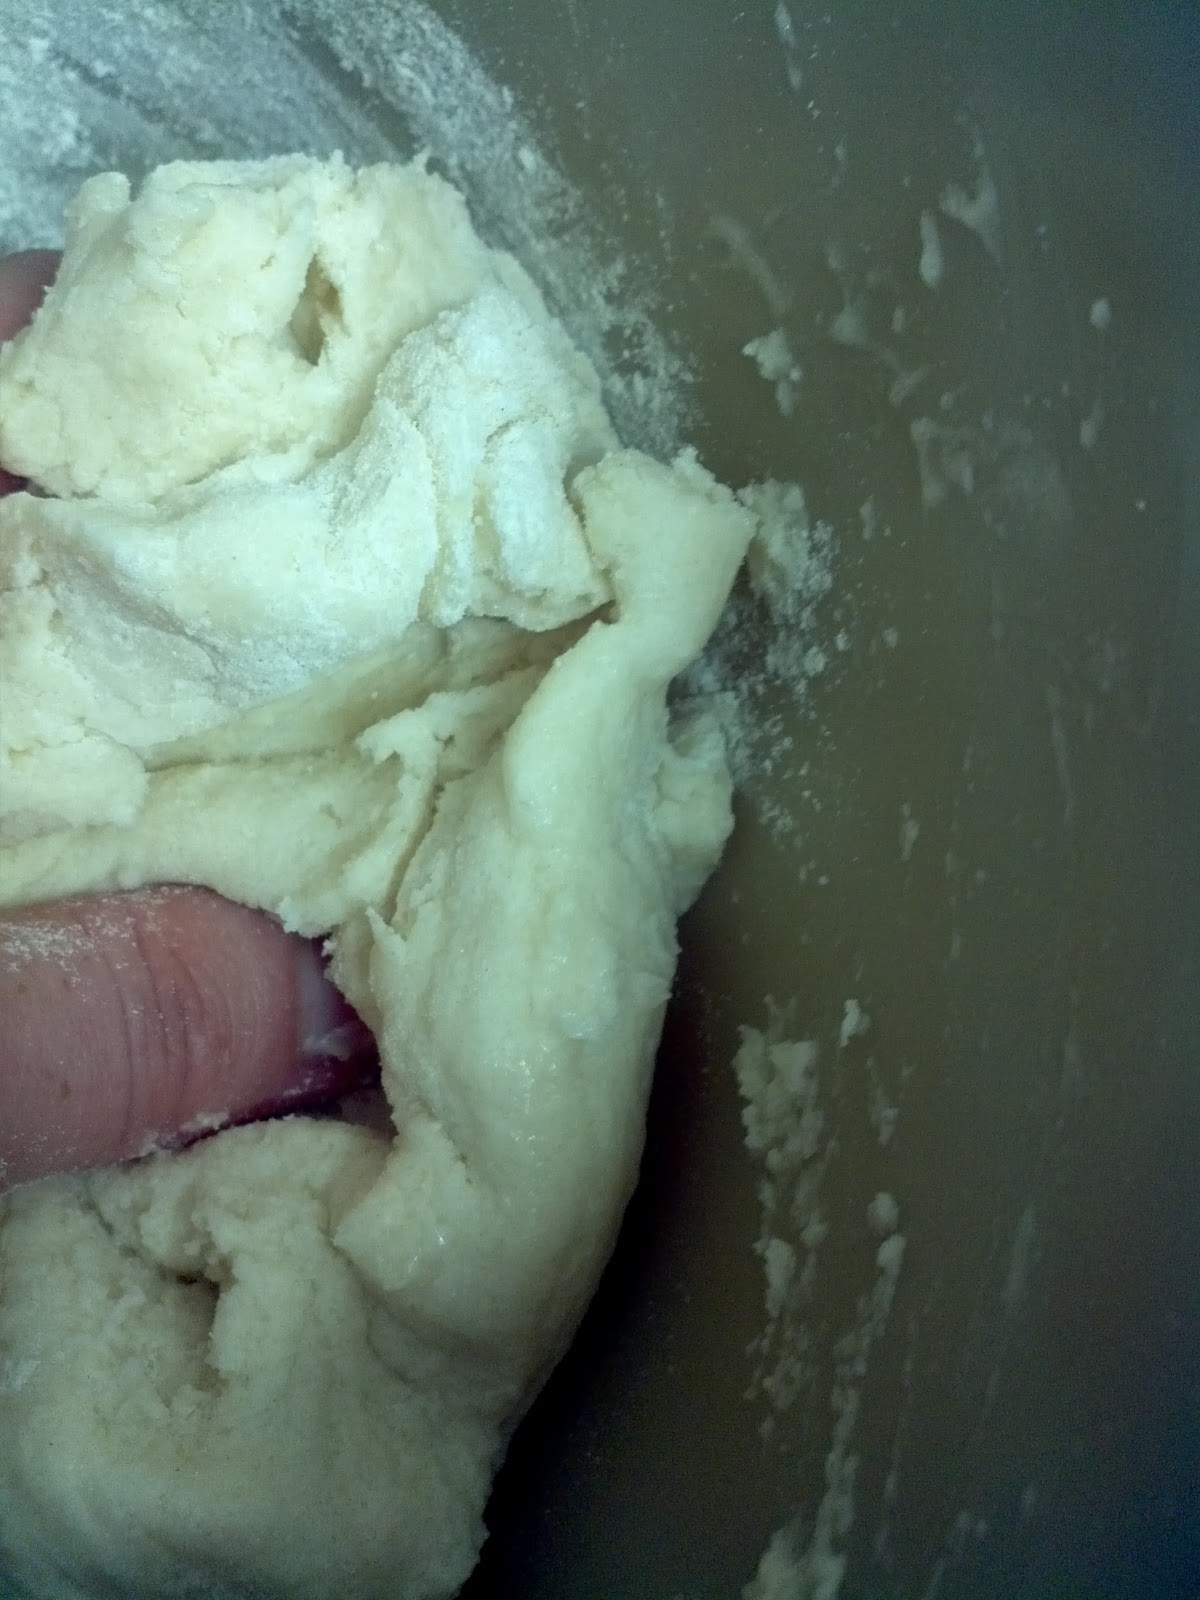


No comments:
Post a Comment