My South African family's tradition:
Preserving Olives at home is an enjoyable and therapeutic process; provided that you have access to fresh olives from a fruiting tree. We've been bottling olives from my sister-in-law's tree for three years now and we've enjoyed varying our recipe and now have a winning combination.
I wanted to show you how we do it - so you know what goes into the bottles you find on the shelves of the supermarket, albeit on a much larger scale.
Start with fresh olives; find yourself a nice spot in the sunshine, with
a glass of wine in one hand, make a slit in each
olive using a sharp knife. Relax, this takes a while so it's nice to have a friend to keep you company and make the time fly.
Drop them into a reseal-able container as you go and cover with cold
water; drain, rinse and re-cover with clean water every day, or two,
for two weeks.
Once you've done the rinse and repeat cycle for two weeks your olives should have released all the bitter oils they store and will now feel a little less hard. Don't squish them too much; it's nicer to have firm fleshy olives when you're eating them than bruised ones.
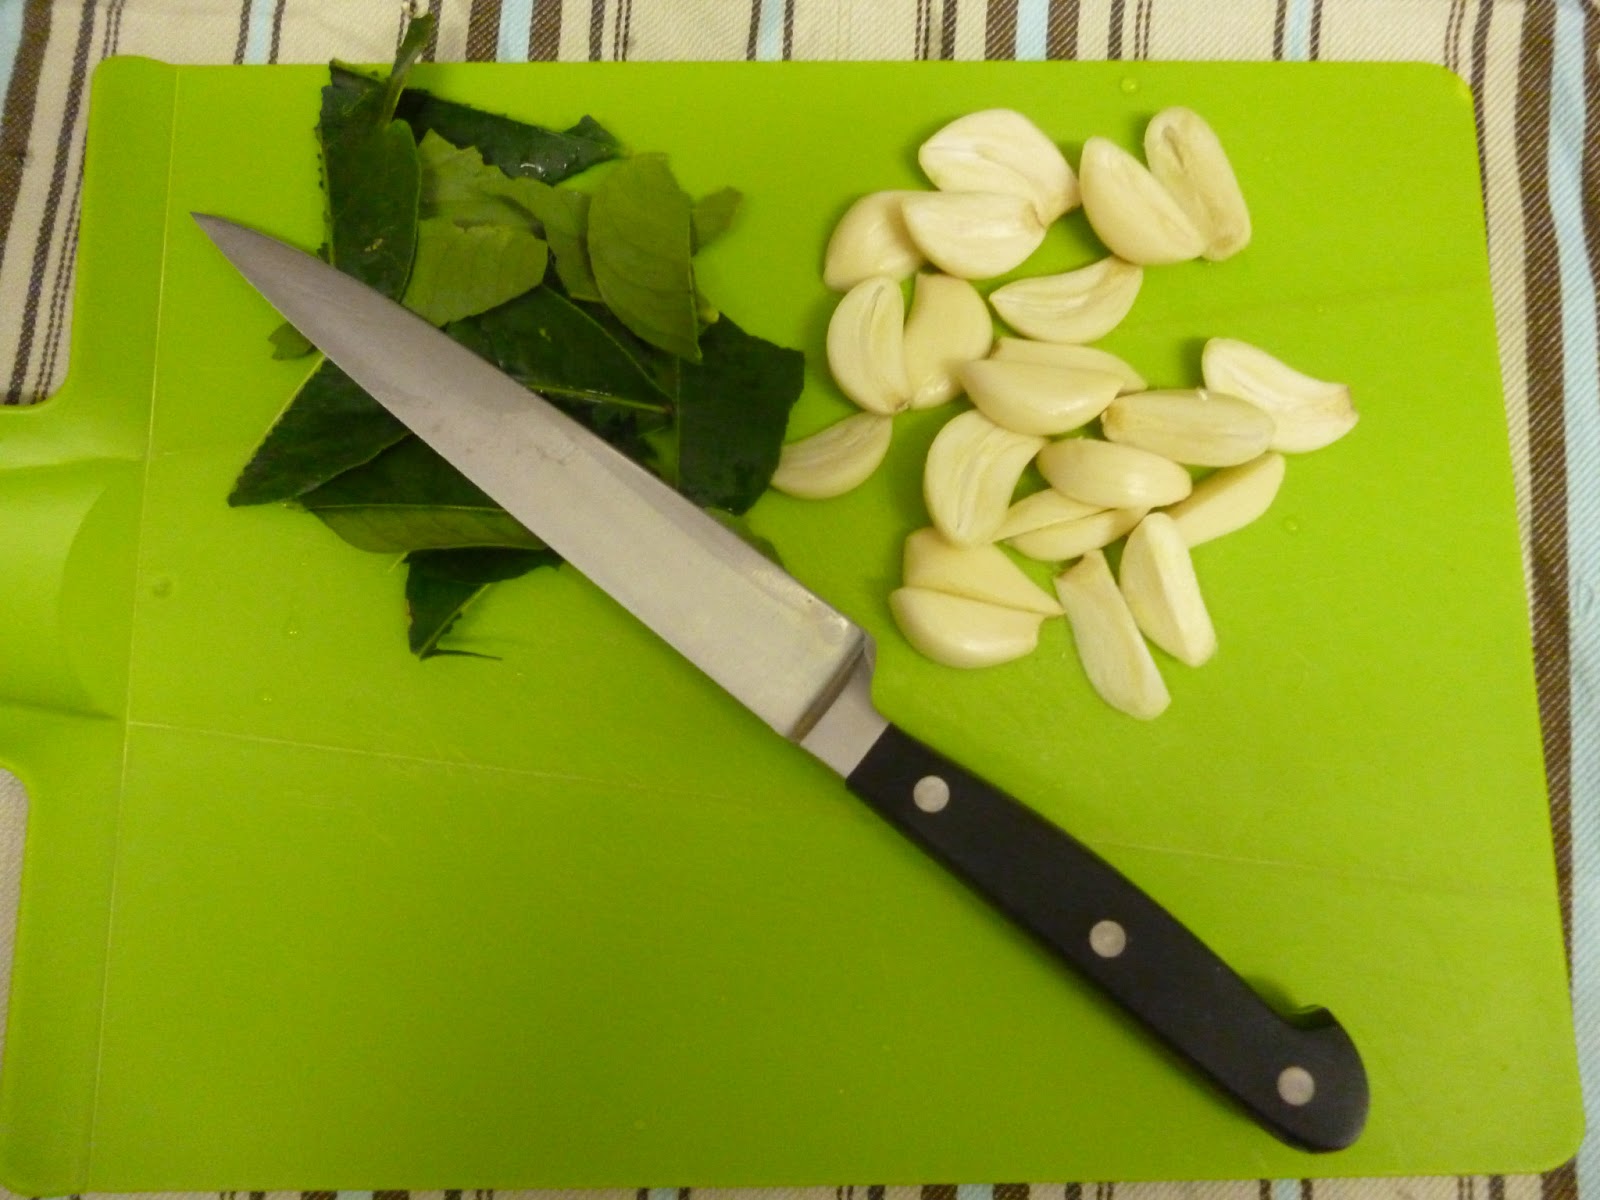
Prepare to bottle by peeling and chopping a clove of Garlic or two per bottle and ripping Lemon/Lime leaves into quarters. You will want half a leaf per jar.
Set yourself up in a nice work area with olive oil (sunflower or seed oils work fine too), White vinegar (not spirit vinegar, it's too harsh on the final flavour), 1 tsp Mixed Herbs per jar, Sea salt, Garlic, Lemon/Lime leaves, hot water in a jug and your clean recycled jars.
Make yourself a brine using the hot water and sea salt - a fresh egg should float in the solution. I make a big batch of brine which I store in a large jar ready for the next batch.
Now you can start bottling. I tend to half fill each jar then add the garlic, lemon leaves and 1 tsp herbs in each jar then top up with more olives. When the jar is full add 1/4 cup of vinegar and 1/4 cup of oil to each jar (for a roughly 300ml jar) then fill to cover the olives with your brine.
The olives are ready to eat after about 3 months. I try to give the olives a gentle shake every now and then to make sure the flavours are all mixed nicely.
They make a great gift to take along to dinner parties. But be warned, they disappear quickly when opened.
Spice them up with fresh or dried chillies or get creative with other flavours.
ENJOY!
From wintery Cape Town


 Posts
Posts


 Empty jars from jams or preserves make wonderful storage for little bits in your craft room but removing the glue left behind after soaking off the paper labels can be a nightmare and very irritating when it comes to re-using them.